

 I’m embarrassed to say I was never a pie gal. I think I just never had one that was truly amazing or maybe it was a texture thing, but I’m down to change that. This recipe isn’t exactly apple pie, but it sure tastes like a better version in my humble opinion. I’m so excited to share this recipe!
These are gluten free, dairy free, refined sugar free, and VEGAN too! I love making vegan recipes because I know a lot of you guys are vegan or are sensitive to dairy and eggs. I hope you love this recipe as much as I do! Happy baking and happy fall
Ingredients
-
FOR THE CRUST
-
2 cups almond flour
-
4 tbsp brown rice flour
-
3/4 cup applesauce
-
1 tsp cinnamon
-
1/8 tsp sea salt
-
1/2 tbsp baking soda
-
FOR THE FILLING
-
2 finely sliced apples
-
1/4 cup maple syrup
-
1-2 tsp cinnamon
-
2 tbsp applesauce
Instructions
-
In one bowl, mix the ingredients for the dough. The dough should be easy to mold, but still on the wetter side
-
Take an 8×8 brownie dish and line it with parchment paper
-
Carefully take half the batter and press it into the bottom of the dish. NOTE: 1/2 of the batter did not spread along the whole bottom of the dish, so I left a little space on the side. See the images below for a better view
-
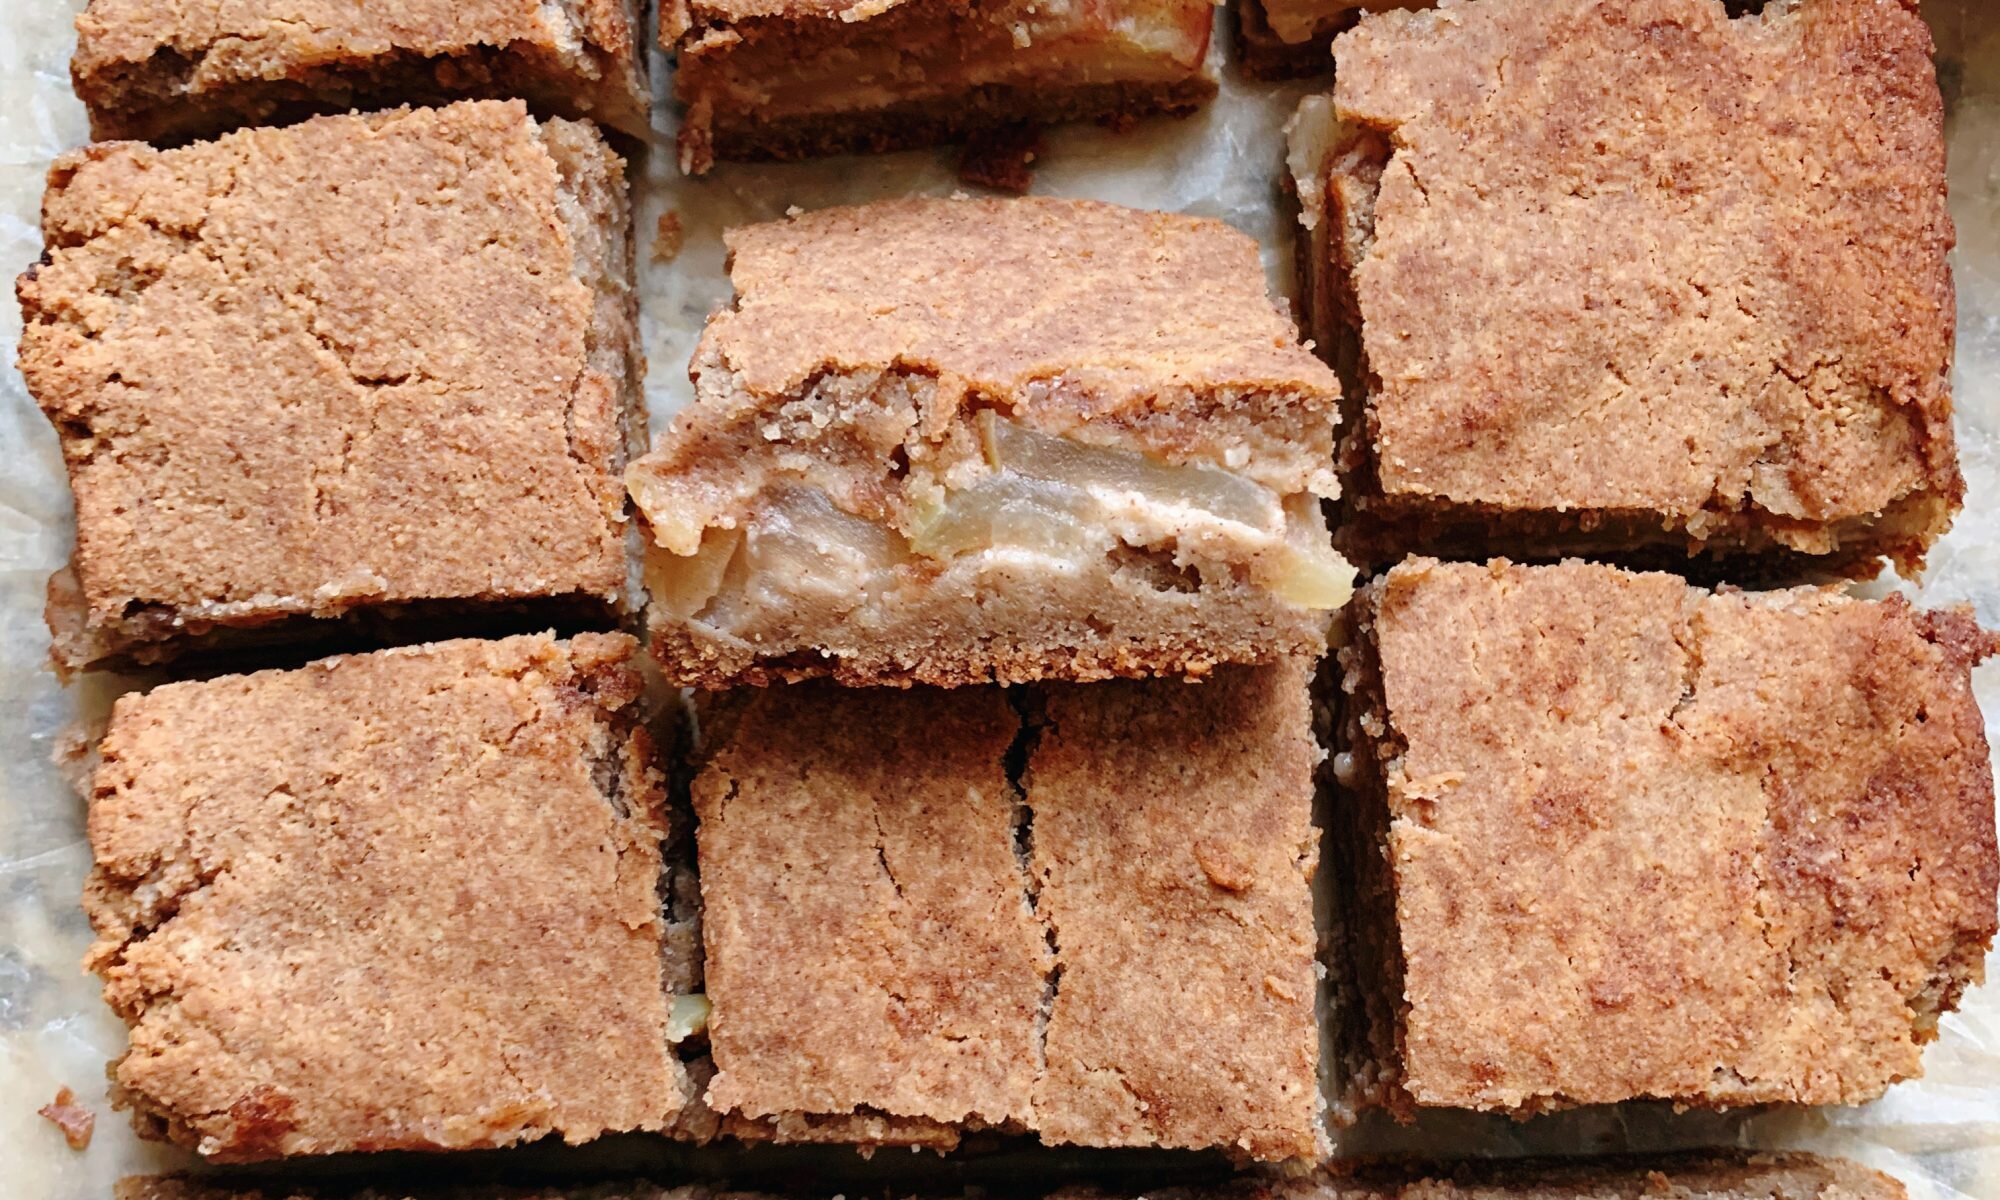
Prep the apple filling. Slice two large apples thinly and mix them with the other wet ingredients. Make sure the apples are well covered
-
Layer the apple slices on top of the dough layer and cover it. Again, see the image for a better view. Pour any extra liquid on top of the apple slices
-
Gently take the leftover batter and press it on top of the apples. The apples may get pushed or moved, but you won’t see them anyway!
-
Bake for about 50 minutes at 350 or until golden brown
-
Cool, slice, and enjoy!

Comment on this post