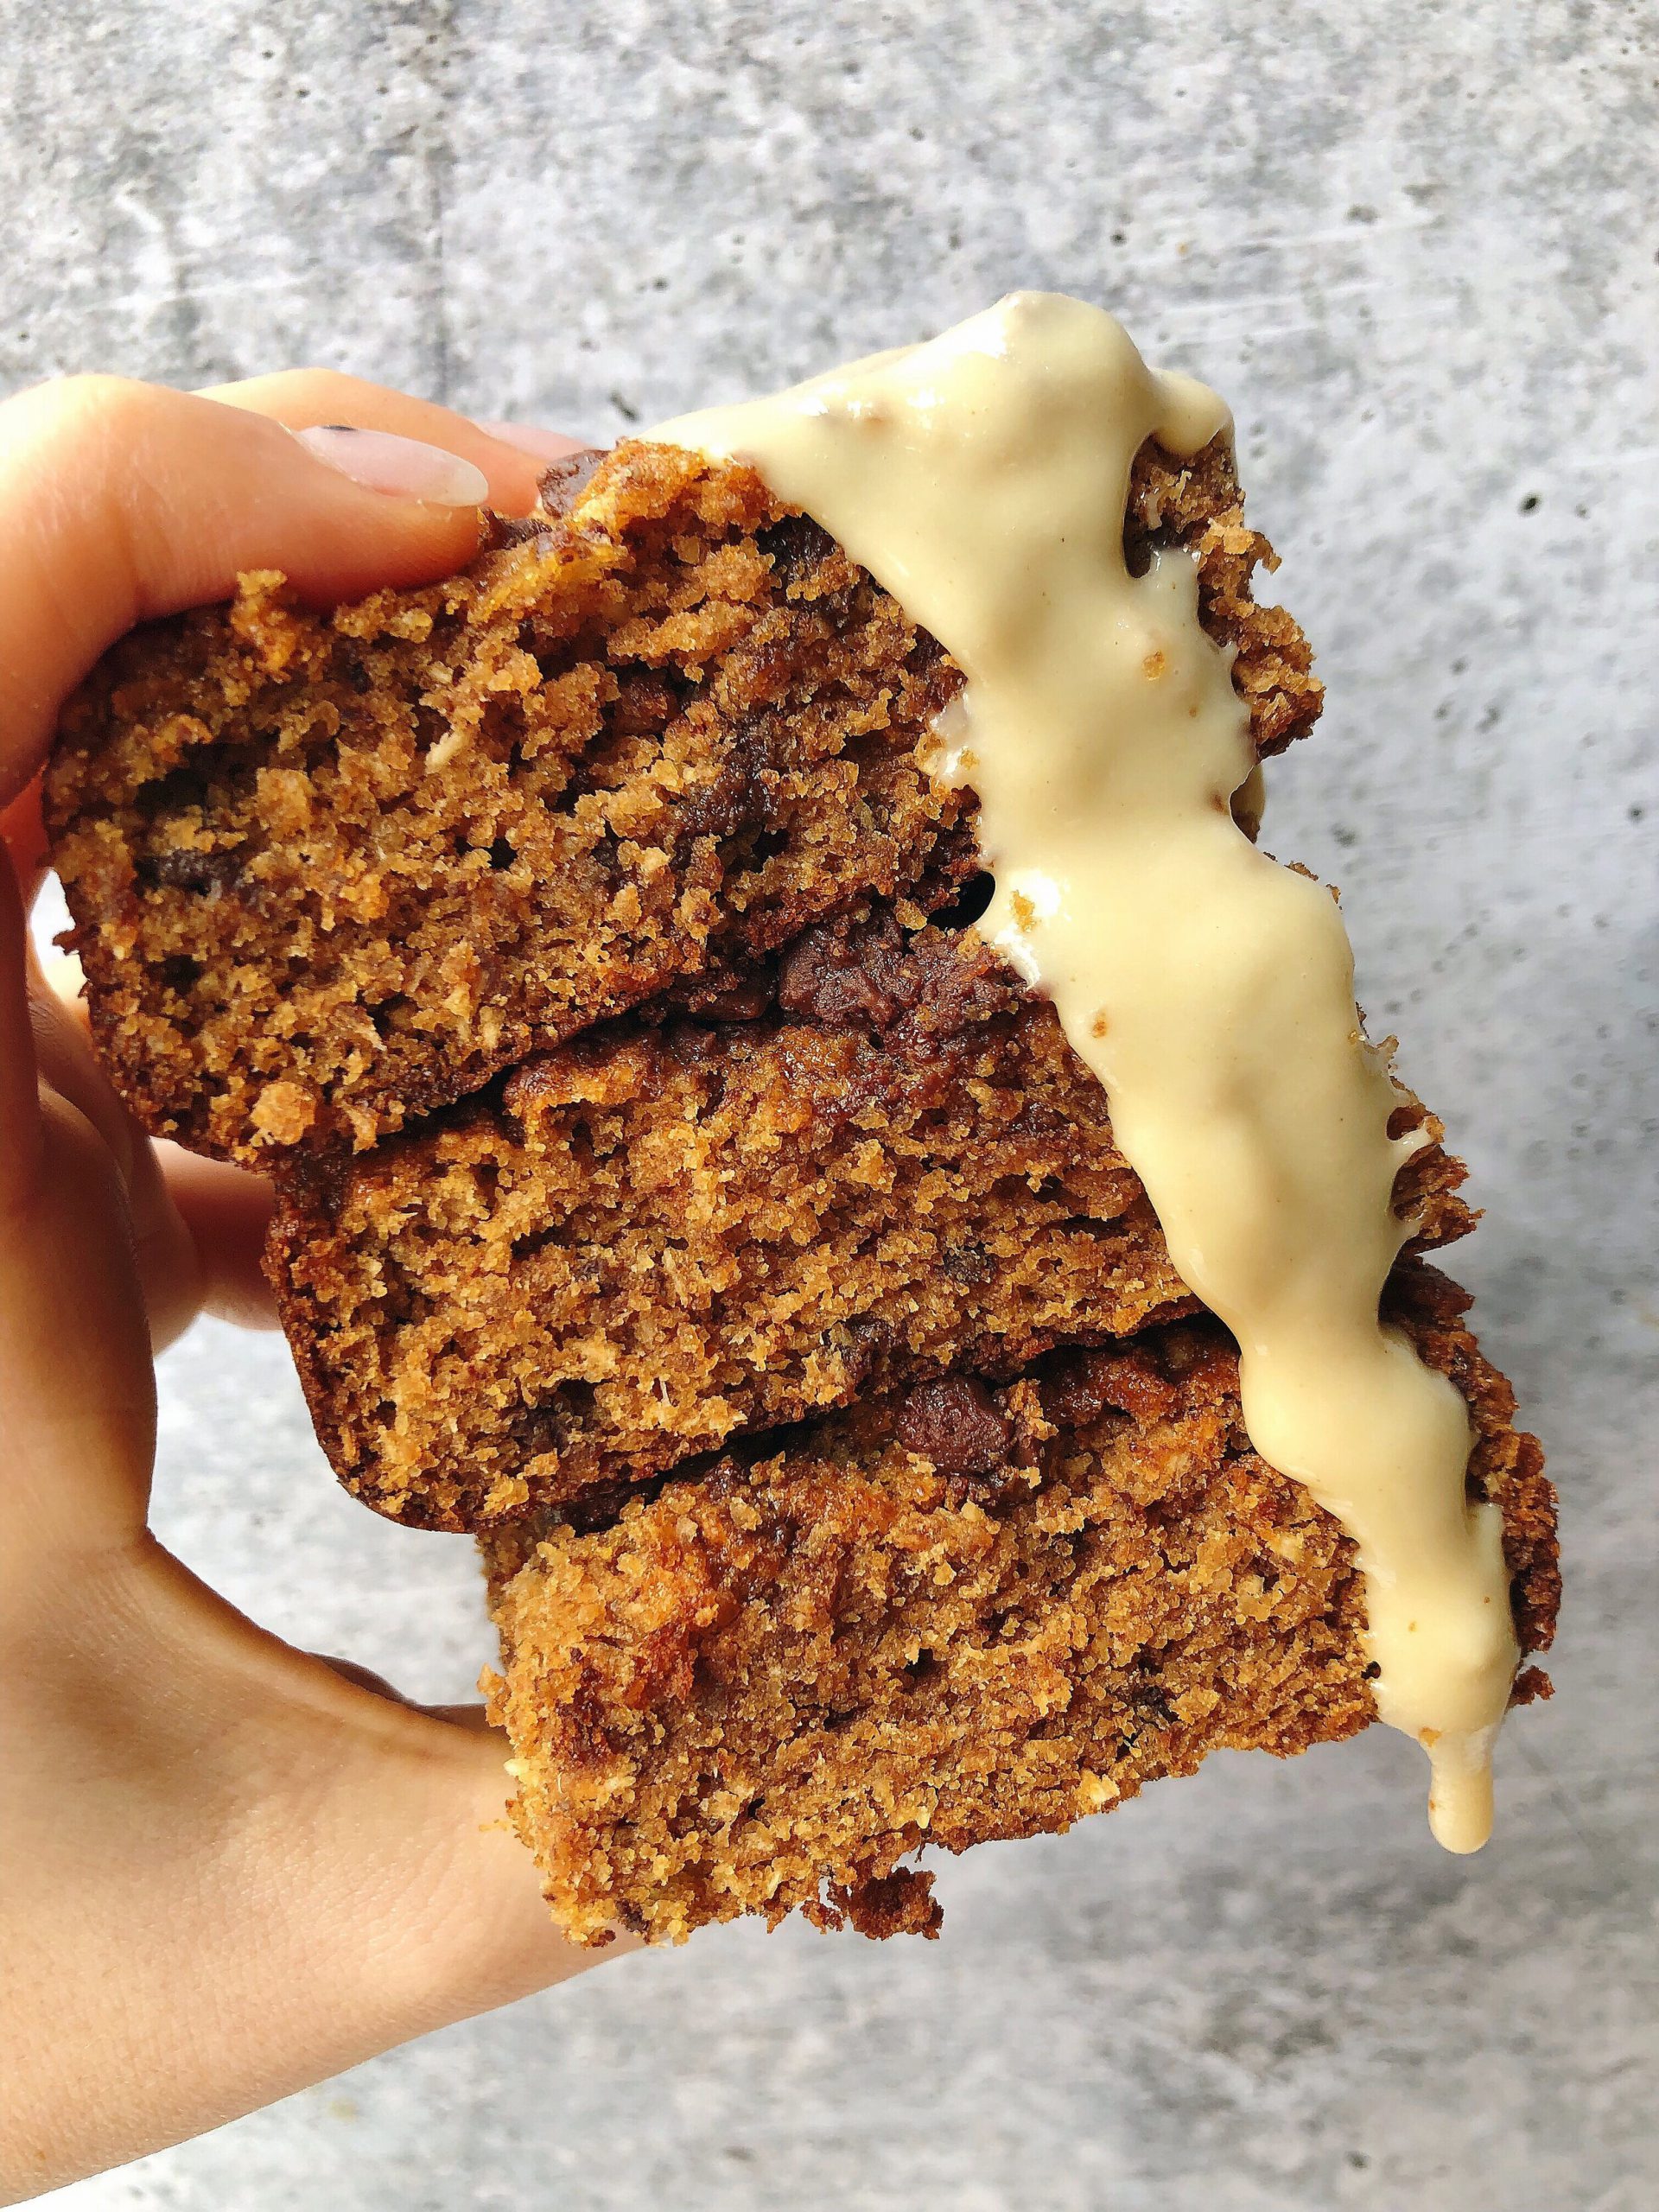


 Let’s cut to the chase: tahini is AMAZING. I’m obsessed with all things tahini. I love using it in a savory sauce, creating glazes for the sweet things, making hummus (of course,) and adding it to just about every recipe I ever make. It’s such a versatile little ingredient, and if you haven’t tried it, you’re missing out. I wanted to make a recipe that really highlighted the amazing flavor of tahini, but also added a natural sweetness without all the processed sugars. Which is how: Tahini Coconut Blondies were created. I made these on Saturday and they were gone by Monday… so it’s safe to say they’re amazing, but don’t take my word for it! Try it out yourself. The recipe is super easy to give them a shot. Happy baking friends!
Ingredients:
-
1 cup almond flour
-
2 tbs coconut flour
-
1/4 cup oat flour
-
1/4 cup coconut flakes
-
1 tsp baking soda
-
1/4 cup maple syrup
-
1/3 cup tahini
-
1/3 cup applesauce
-
1/3 cup coconut sugar
-
1 egg
-
1 tsp vanilla
Recipe
-
Combine all dry ingredients first! Add the almond flour, coconut flour, oat flour, coconut sugar, coconut flakes, and baking soda into a bowl and stir well. Make sure all the ingredients have been mixed together smoothly
-
In a separate bowl combine the wet ingredients: maple syrup, tahini, applesauce, egg, and vanilla and mix together well. Make sure there are no clumps
-
Combine the wet and dry and mix!
-
Pour the mixture into a lined 8 x 8 brownie tin and top with one bar of crushed chocolate. I used the raspberry bar from Loving Earth and the flavor was on point
-
Bake for 30 minutes at 350 until the top is golden brown. I always use a toothpick to check if it’s cooked. Just press the toothpick into the center of the cake, and if it comes out clean, you’re good to go!
-
Cut into pieces and enjoy!
Comment on this post