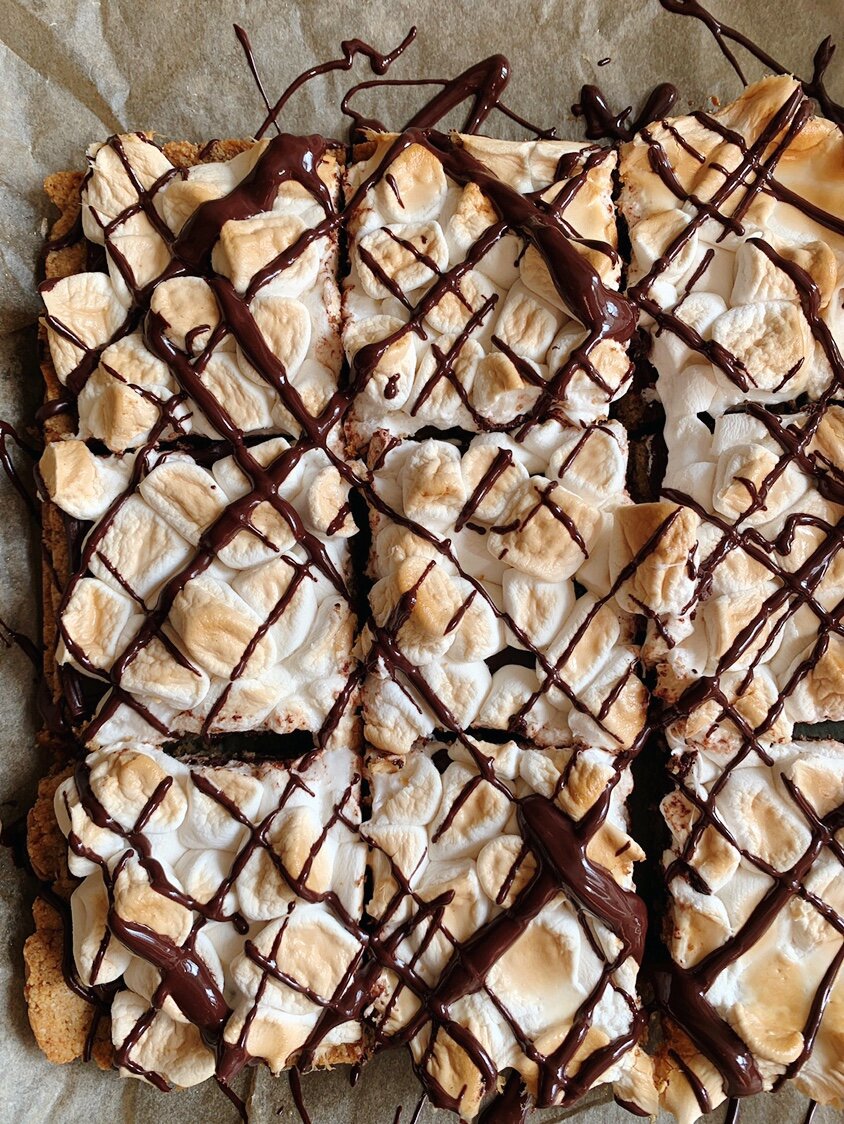


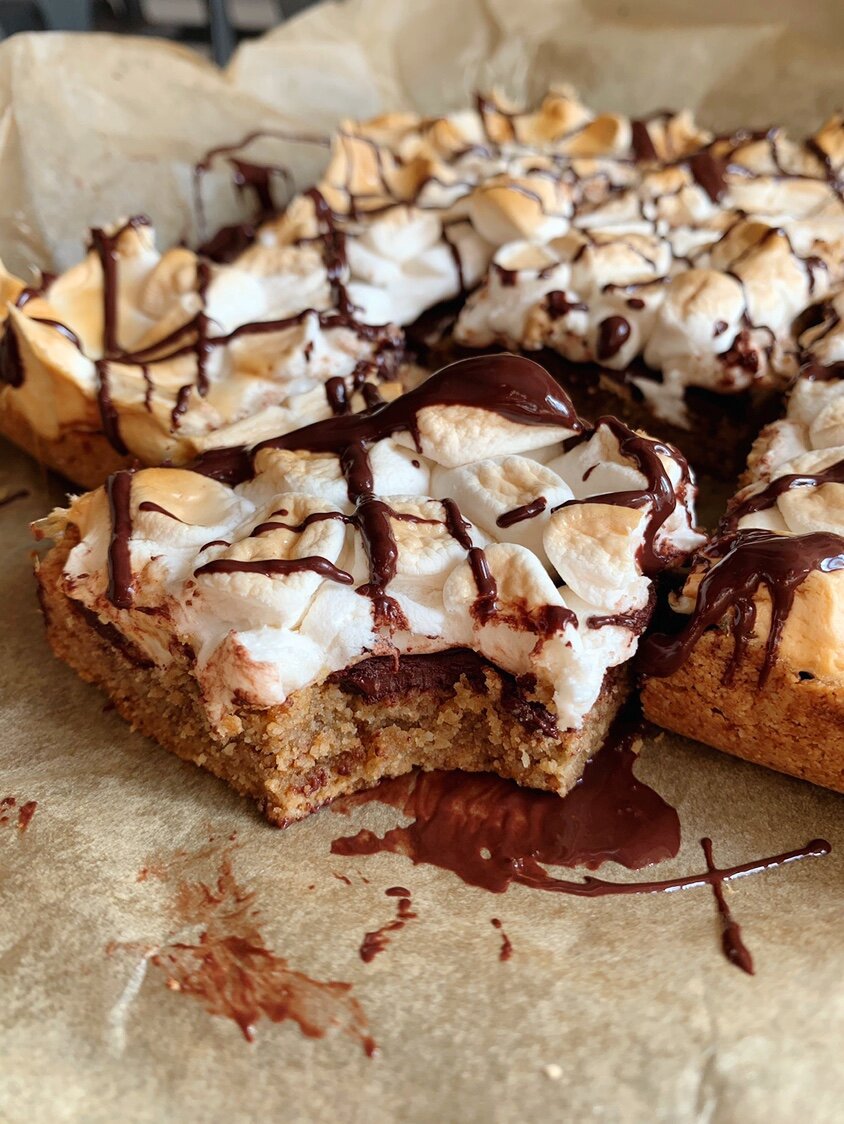
Healthy and Easy S’mores Bars are gluten free and dairy free, and taste exactly like a fresh s’more right off the campfire! They’re simple to make, have a delicious soft and crunchy marshmallow layer on top, and only require about 10 minutes of prep time.

The most delicious s’mores dessert
Fun fact about me, I was a Girl Scout from the age of 6 until I graduated from High School. I stuck with the same troop all those years and I honestly have so much gratitude for that time in my life. I used to be so embarrassed to say I was a Girl Scout that wore the vests and sold cookies and attended overnight camps. But now, I say it proudly because it played such a big role in my life.
My favorite part about being a girl scout was definitely the camps with my friends. We would stay up all night telling stories, we would go tubing and hiking and play on the ropes course, and of course, spent many nights by the campfire.
When you’re young and carefree, there’s literally no limit to the amount of s’mores you can eat. I remember eating SO MANY plain marshmallows, roasted ones, and the classic s’mores edition sandwiched in between melty chocolate and crunchy graham crackers. If I tried to eat the same amount of sweets I did back in the day now… I for sure would not feel as good or energized as I did then.
However, one thing that has not changed is my desire to eat sweets. I may not be able to eat the same classic treats because of my autoimmune disease now, but I still crave sweets. I just try and make the healthier version of them so I can still feel good on the inside! Thus, this recipe for a healthy and easy s’mores bar.
This recipe is so easy to make and requires very little prep work. I love how sweet and simple these bars are and how perfect they are for literally every occasion. These bars are so fun, you’ll want to make them for every social gathering from here on out… trust me.
Ingredients used in this easy s’mores recipe
This recipe has two main parts: the crust and the filling. For each section, you’ll only need a few ingredients, only 9 in total between all the parts. All in all, this recipe uses simple, healthier ingredients for a more nutrient-rich dessert option!
Crust:
-
Almond Flour
-
Cinnamon
-
Baking Soda
-
Coconut Oil
-
Egg
-
Coconut Sugar
-
Salt
Filling:
-
Mini Marshmallows
-
Chocolate Bars or Chocolate Chips
That’s it! I really strive to keep my baked goods as simple as possible with some of the most nutritious ingredients.
What to use to make s’mores bars
To make healthy and easy s’mores bars, be sure to have these items on hand. If you have a different sized pan, it will work! With a larger pan, however, you’ll have thinner bars and may not need as much baking time. Be sure to keep an eye as it cooks!
-
8×8 inch pan
-
Parchment paper or cooking spray
-
Mixing bowl
-
Stirring utensil
How to make healthy s’mores bars
Healthy s’mores bars are easy to whip together and require less than an hour, including baking time! Once finished, keep any extra bars stored in a sealed container in the refrigerator to keep them fresh.
To start, preheat the oven to 350F and prepare an 8×8 inch pan with grease, cooking spray, or parchment paper.
In a small bowl, melt the coconut oil to create a liquid and then mix the rest of the ingredients for the crust together until well combined. Tip: I started this step by mixing together with a fork, but then used my hands to “knead” the dough to create a smooth dough ball.
Next, press the mixture into the bottom of the 8×8 pan. You can make it all flat on the bottom, or gently press up on the edges to give a little crust on the sides. Poke a few holes using a fork to prevent rising (see photo below)
Bake for 15-17 minutes or until slightly golden brown. Once out of the oven, move onto the next step.
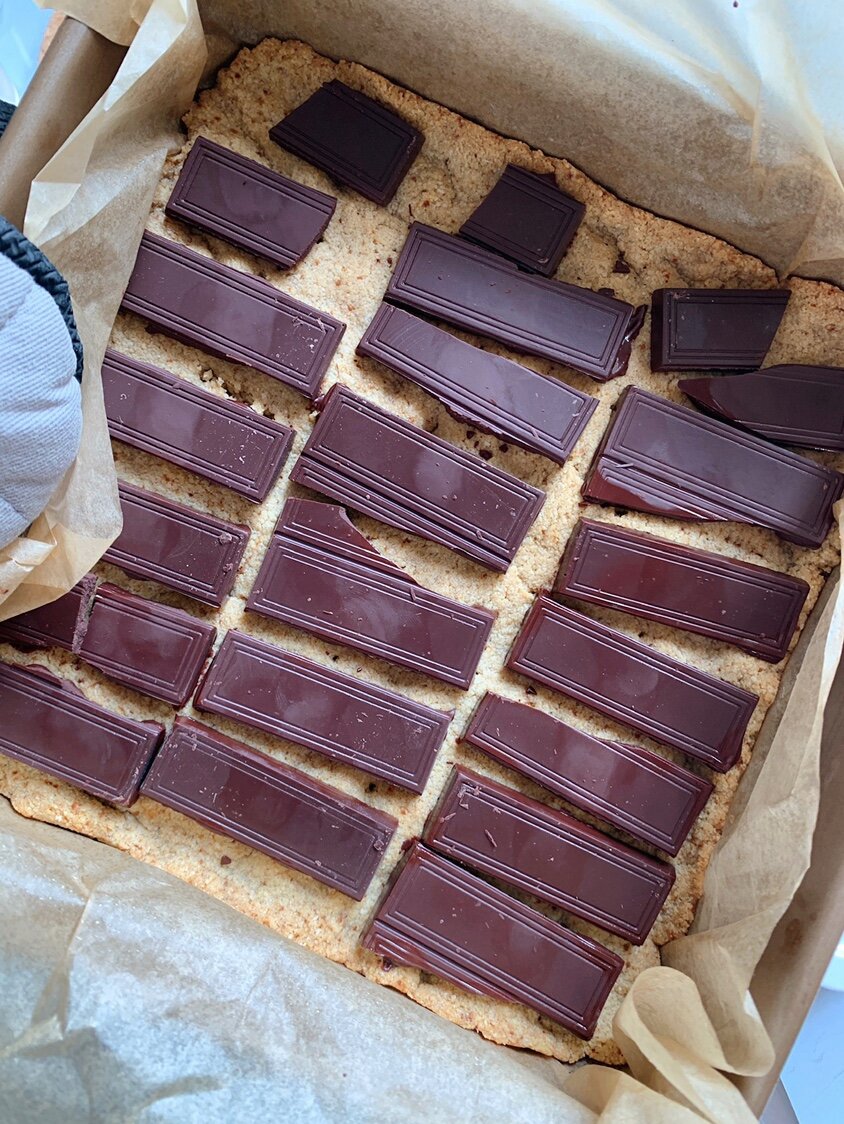
Break apart your chocolate bars and layer on top of the crust. Try to cover the crust with the chocolate bars or chocolate chips if that’s what you’re using.
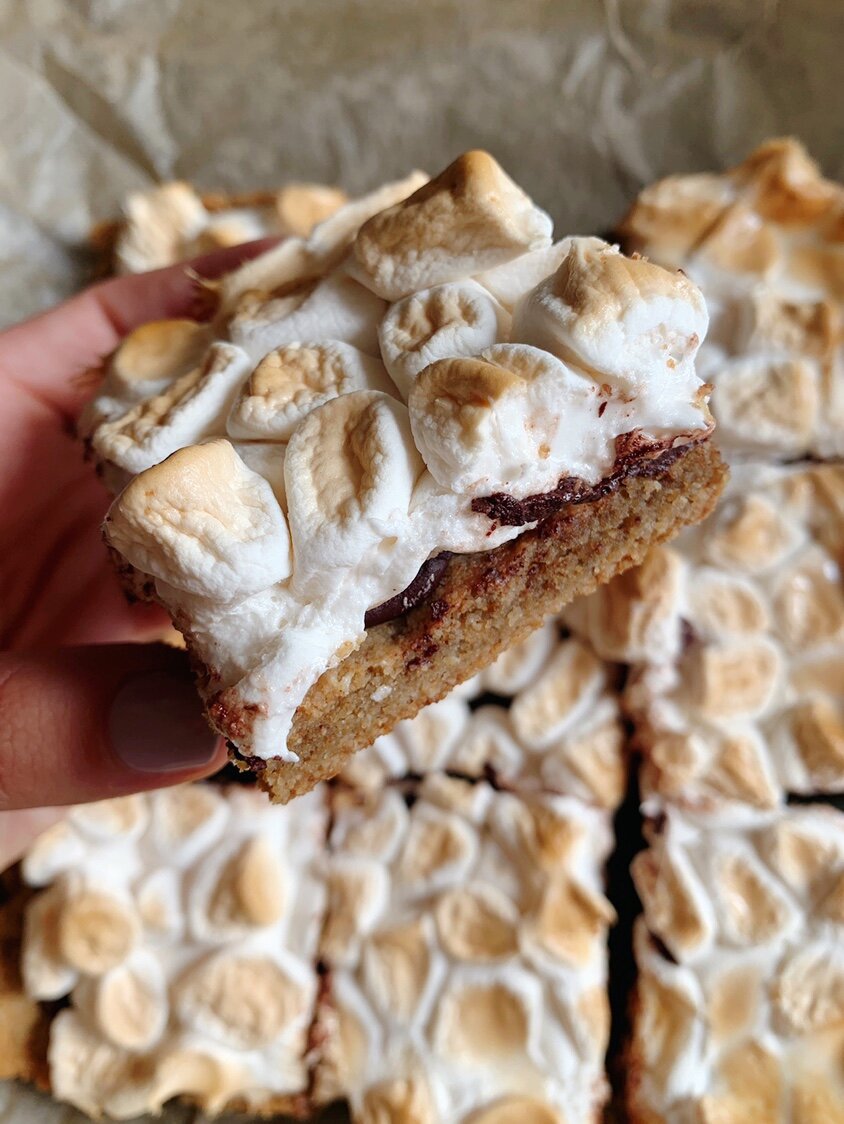
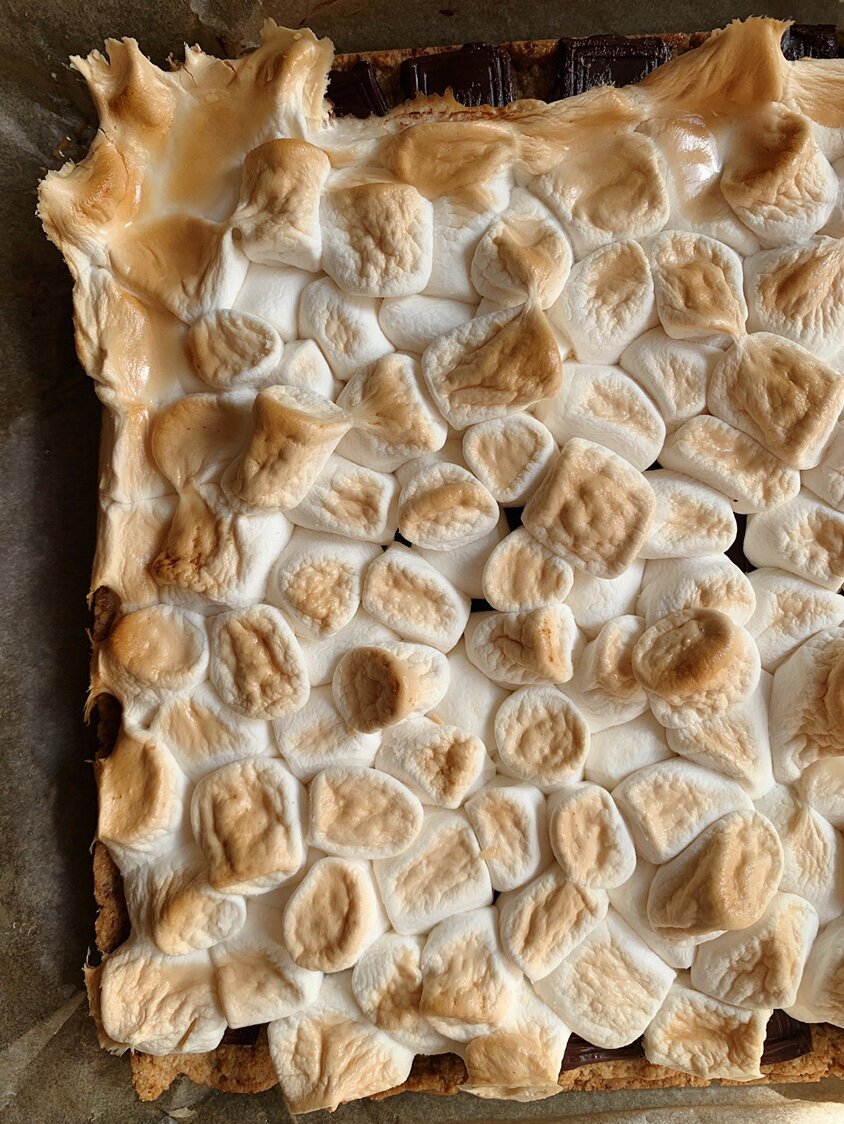
Then, add the marshmallow layer on top. I used about 2 cups mini marshmallows for this, but you can add more or less depending on your taste buds.
Bake for about 15-17 more minutes and then (optional) broil on low for 2 minutes to give your marshmallows a golden brown top. Let it cool, drizzle chocolate on top, and cut into slices!

Ingredient substitution options
If you find yourself with a few different ingredients on hand, they may work in this recipe. Here are some common swaps that you may be interested in trying!
-
Coconut oil: Coconut oil can be replaced with any other similar cooking oil.
-
Coconut sugar: Instead of coconut sugar, feel free to use light brown sugar. Note that brown sugar tends to be a bit sweeter, so you may not need as much as far as flavor goes.
-
Egg: Note that I have not tried this yet, but typically an egg can be replaced with 1/4 cup applesauce per egg.
Easy S’mores Bars
Ingredients:
- 2 cups almond flour
- 1/2 tsp cinnamon
- 1/2 tsp baking soda
- 1/4 cup coconut oil
- 1 egg
- 2 tbsp coconut sugar
- 1/4 tsp sea salt
- 2 cups mini marshmallows
- 2-3 chocolate bars or 1 cup mini chocolate chips
Instructions:
- To start, preheat the oven to 350F and prepare an 8×8 inch pan with grease, cooking spray, or parchment paper.
- In a small bowl, melt the coconut oil to create a liquid and then mix the rest of the ingredients for the crust together until well combined. Tip: I started this step by mixing together with a fork, but then used my hands to “knead” the dough to create a smooth dough ball.
- Next, press the mixture into the bottom of the 8×8 pan. You can make it all flat on the bottom, or gently press up on the edges to give a little crust on the sides. Poke a few holes using a fork to prevent rising (see photo below)
- Bake for 15-17 minutes or until slightly golden brown. Once out of the oven, move onto the next step.
- Break apart your chocolate bars and layer on top of the crust. Try to cover the crust with the chocolate bars or chocolate chips if that’s what you’re using.
- Then, add the marshmallow layer on top. I used about 2 cups mini marshmallows for this, but you can add more or less depending on your taste buds.
- Bake for about 15-17 more minutes and then (optional) broil on low for 2 minutes to give your marshmallows a golden brown top. Let it cool, drizzle chocolate on top, and cut into slices!
Calories
211.88
Fat (grams)
16.94
Sat. Fat (grams)
6.28
Carbs (grams)
11.66
Fiber (grams)
2.70
Net carbs
8.95
Sugar (grams)
7.60
Protein (grams)
5.18
Sodium (milligrams)
65.89
Cholesterol (grams)
17.61
Comment on this post