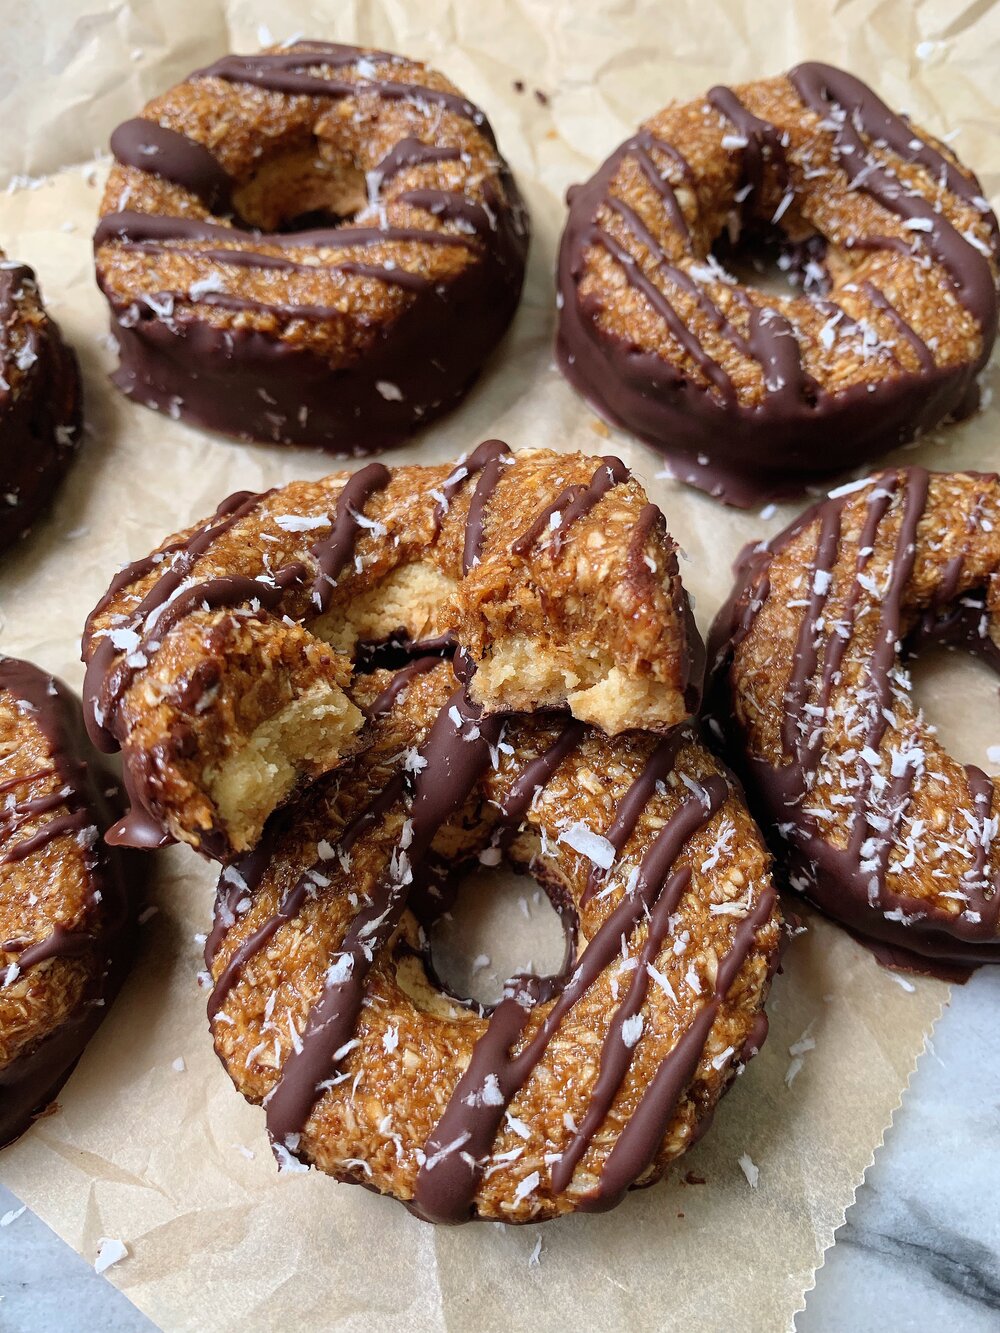
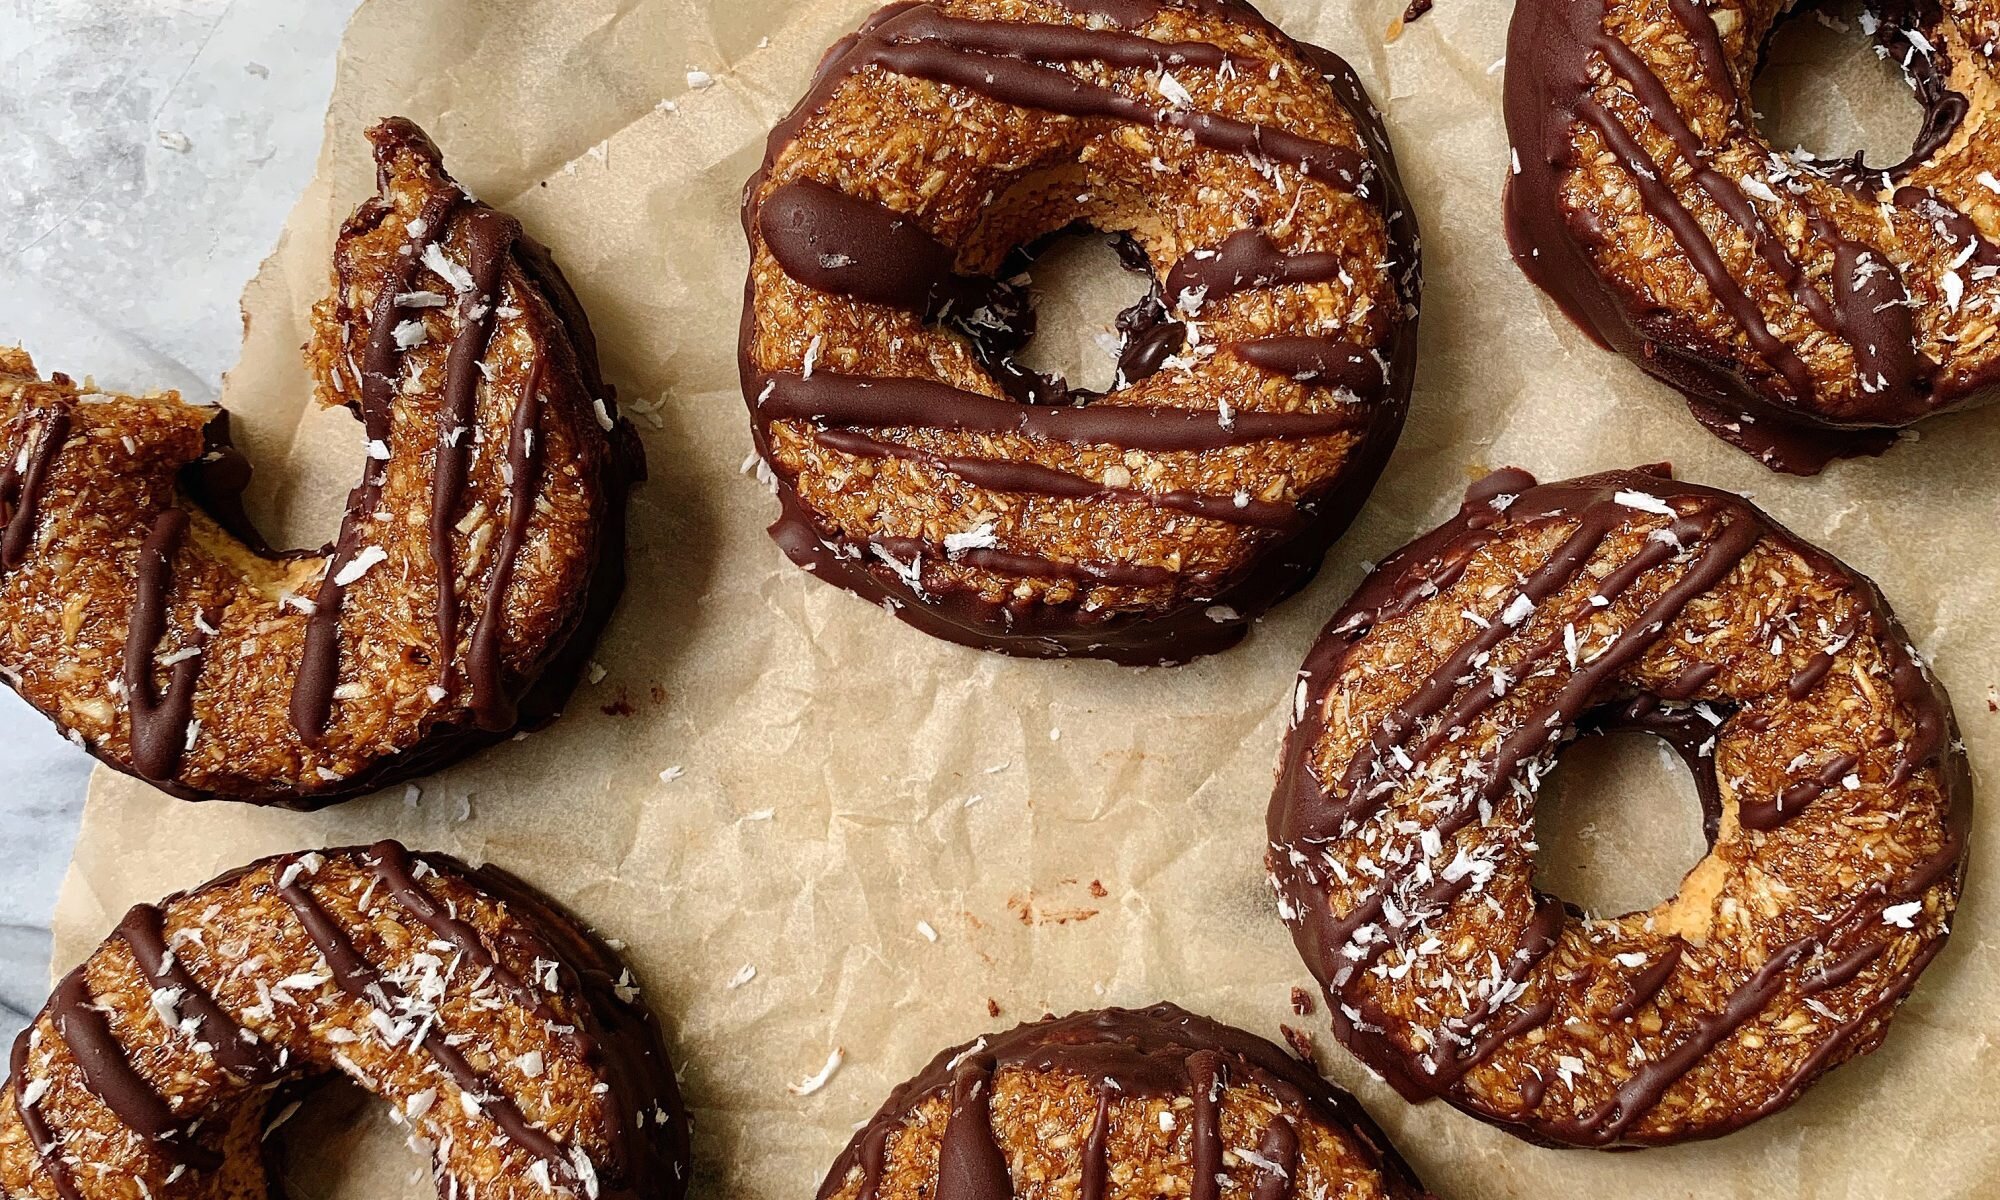
 As a long time Girl Scout, you can bet I ate my fair share of Girl Scout cookies. My mom would always have to buy us a few extra boxes because I could never meet my cookie selling goal. And while she said those boxes were for her, we couldn’t keep our hands off of them. My all time favorite Girl Scout Cookie was and is the Samoa. I love the combo of the crunchy base with the sweet coconut top and the coating of smooth chocolate. I could eat a whole box in just a couple of days and have no shame… unfortunately, I can no longer eat them!
Being gluten free and dairy free definitely has it’s ups and downs, but the worst part is just not being able to eat all my old favorite foods. For a little while I just settled with having to be ok with it. I couldn’t change the way my body processed food, so there was no use fighting it. However, I’ve learned recently that I can still have the same amazing food that I once loved if I could make them myself and take out the parts I couldn’t eat. Since I realized this, I’ve been creating new recipes weekly. New recipes for desserts I want, but can’t eat store bought. Hence, the creation of the gluten free, dairy free, refined sugar free, and grain free Samoa Cookie. This may be one of my all time favorite recipes and I’m so excited to share them with you now! Happy baking friends
Ingredients:
For the Cookie Base:
-
1 cup almond flour
-
1 tbsp coconut sugar
-
1 egg
For the Coconut Layer:
-
1/2 cup shredded coconut flakes
-
2 tbsp honey
-
2 tbsp almond butter
Extra:
-
One bar melted Hu Dark Chocolate
Recipe:
-
Mix together the ingredients for the cookie layer. This will be a thicker, more moldable dough, so you might have to use your hands to kneed it well
-
On a non stick surface, roll the cookie dough flat and cut out circle shapes for the base of the cookie. Using a smaller cutter, cut out the center of each circle to create the ring shape
-
With any extra dough not in a ring shape, roll it back into a ball, roll it flat, and then repeat the steps to get as many ring shapes as you can
-
Bake the rings on a non stick baking sheet for about 10-15 minutes at 350 or until the edges are golden brown
-
Let them cool and make the coconut filling
-
Mix together all the ingredients for the coconut batter layer and stir well
-
Slightly wet your hands to prevent the mixture from sticking to your hands, and press a little dough onto each cookie ring. I found it easiest to roll the coconut mixture into a snake like shape and then wrap it on top of the cookie
-
Melt the chocolate, dip the bottom of each cookie so it covers the whole bottom and side edges of the cookie, and drizzle a little extra on top
-
Let the cookies harden and chill in the fridge overnight and enjoy!


Comment on this post